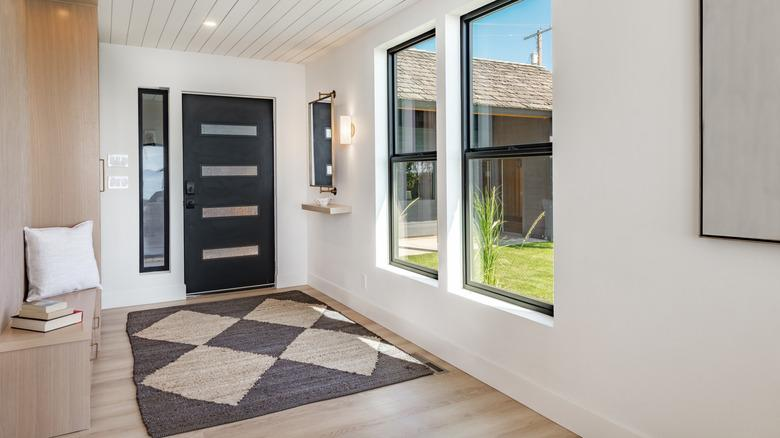
What to Look for During a Final Walkthrough
- Tammy Delwarte

- Feb 26
- 2 min read

A final walkthrough usually happens 24–48 hours before closing. It’s your last chance to confirm the home is in the agreed condition before you sign.
1️⃣ Confirm the Property’s Overall Condition
Make sure:
The home is in the same condition as when you made the offer
No new damage to walls, ceilings, or floors
No large holes from removed TVs or fixtures
Trash and personal items are removed (unless agreed otherwise)
If the seller caused damage during move-out, it should be addressed before closing.
2️⃣ Verify Agreed Repairs Were Completed
Bring:
Your inspection report
Repair addendum
Receipts (if provided)
Check that:
Repairs were done professionally
Items are fully functional
No temporary or patchwork fixes
If possible, test repaired items yourself.
Test All Major Systems
Turn on and test:
Lights and outlets
HVAC (heat & AC)
Faucets and water pressure
Toilets (flush all)
Dishwasher, stove, oven
Garage door opener
Ensure utilities are still on during walkthrough.
4️⃣ Check Included Items Are Still There
Review your contract and confirm:
Appliances included in the sale
Washer & dryer (if negotiated)
Light fixtures
Ceiling fans
Window treatments
Built-ins
Sellers sometimes accidentally remove items that were supposed to stay.
5️⃣ Inspect Exterior & Garage
Don’t forget to check:
Roof (visually from ground)
Gutters
Landscaping condition
Irrigation systems
Garage storage & openers
Also confirm no new exterior damage occurred during move-out.
⚠ Red Flags During Walkthrough
New leaks or water damage
Missing appliances
Major uncompleted repairs
Utilities shut off
Property not vacated
If you find serious issues, you can:
Delay closing
Request repair credit
Escrow funds until fixed
💡 Pro Tip
Bring:
Your agent
Phone (take photos/videos)
Original inspection report
Contract repair list
The final walkthrough is not another inspection, but a confirmation that everything is as agreed.


Comments